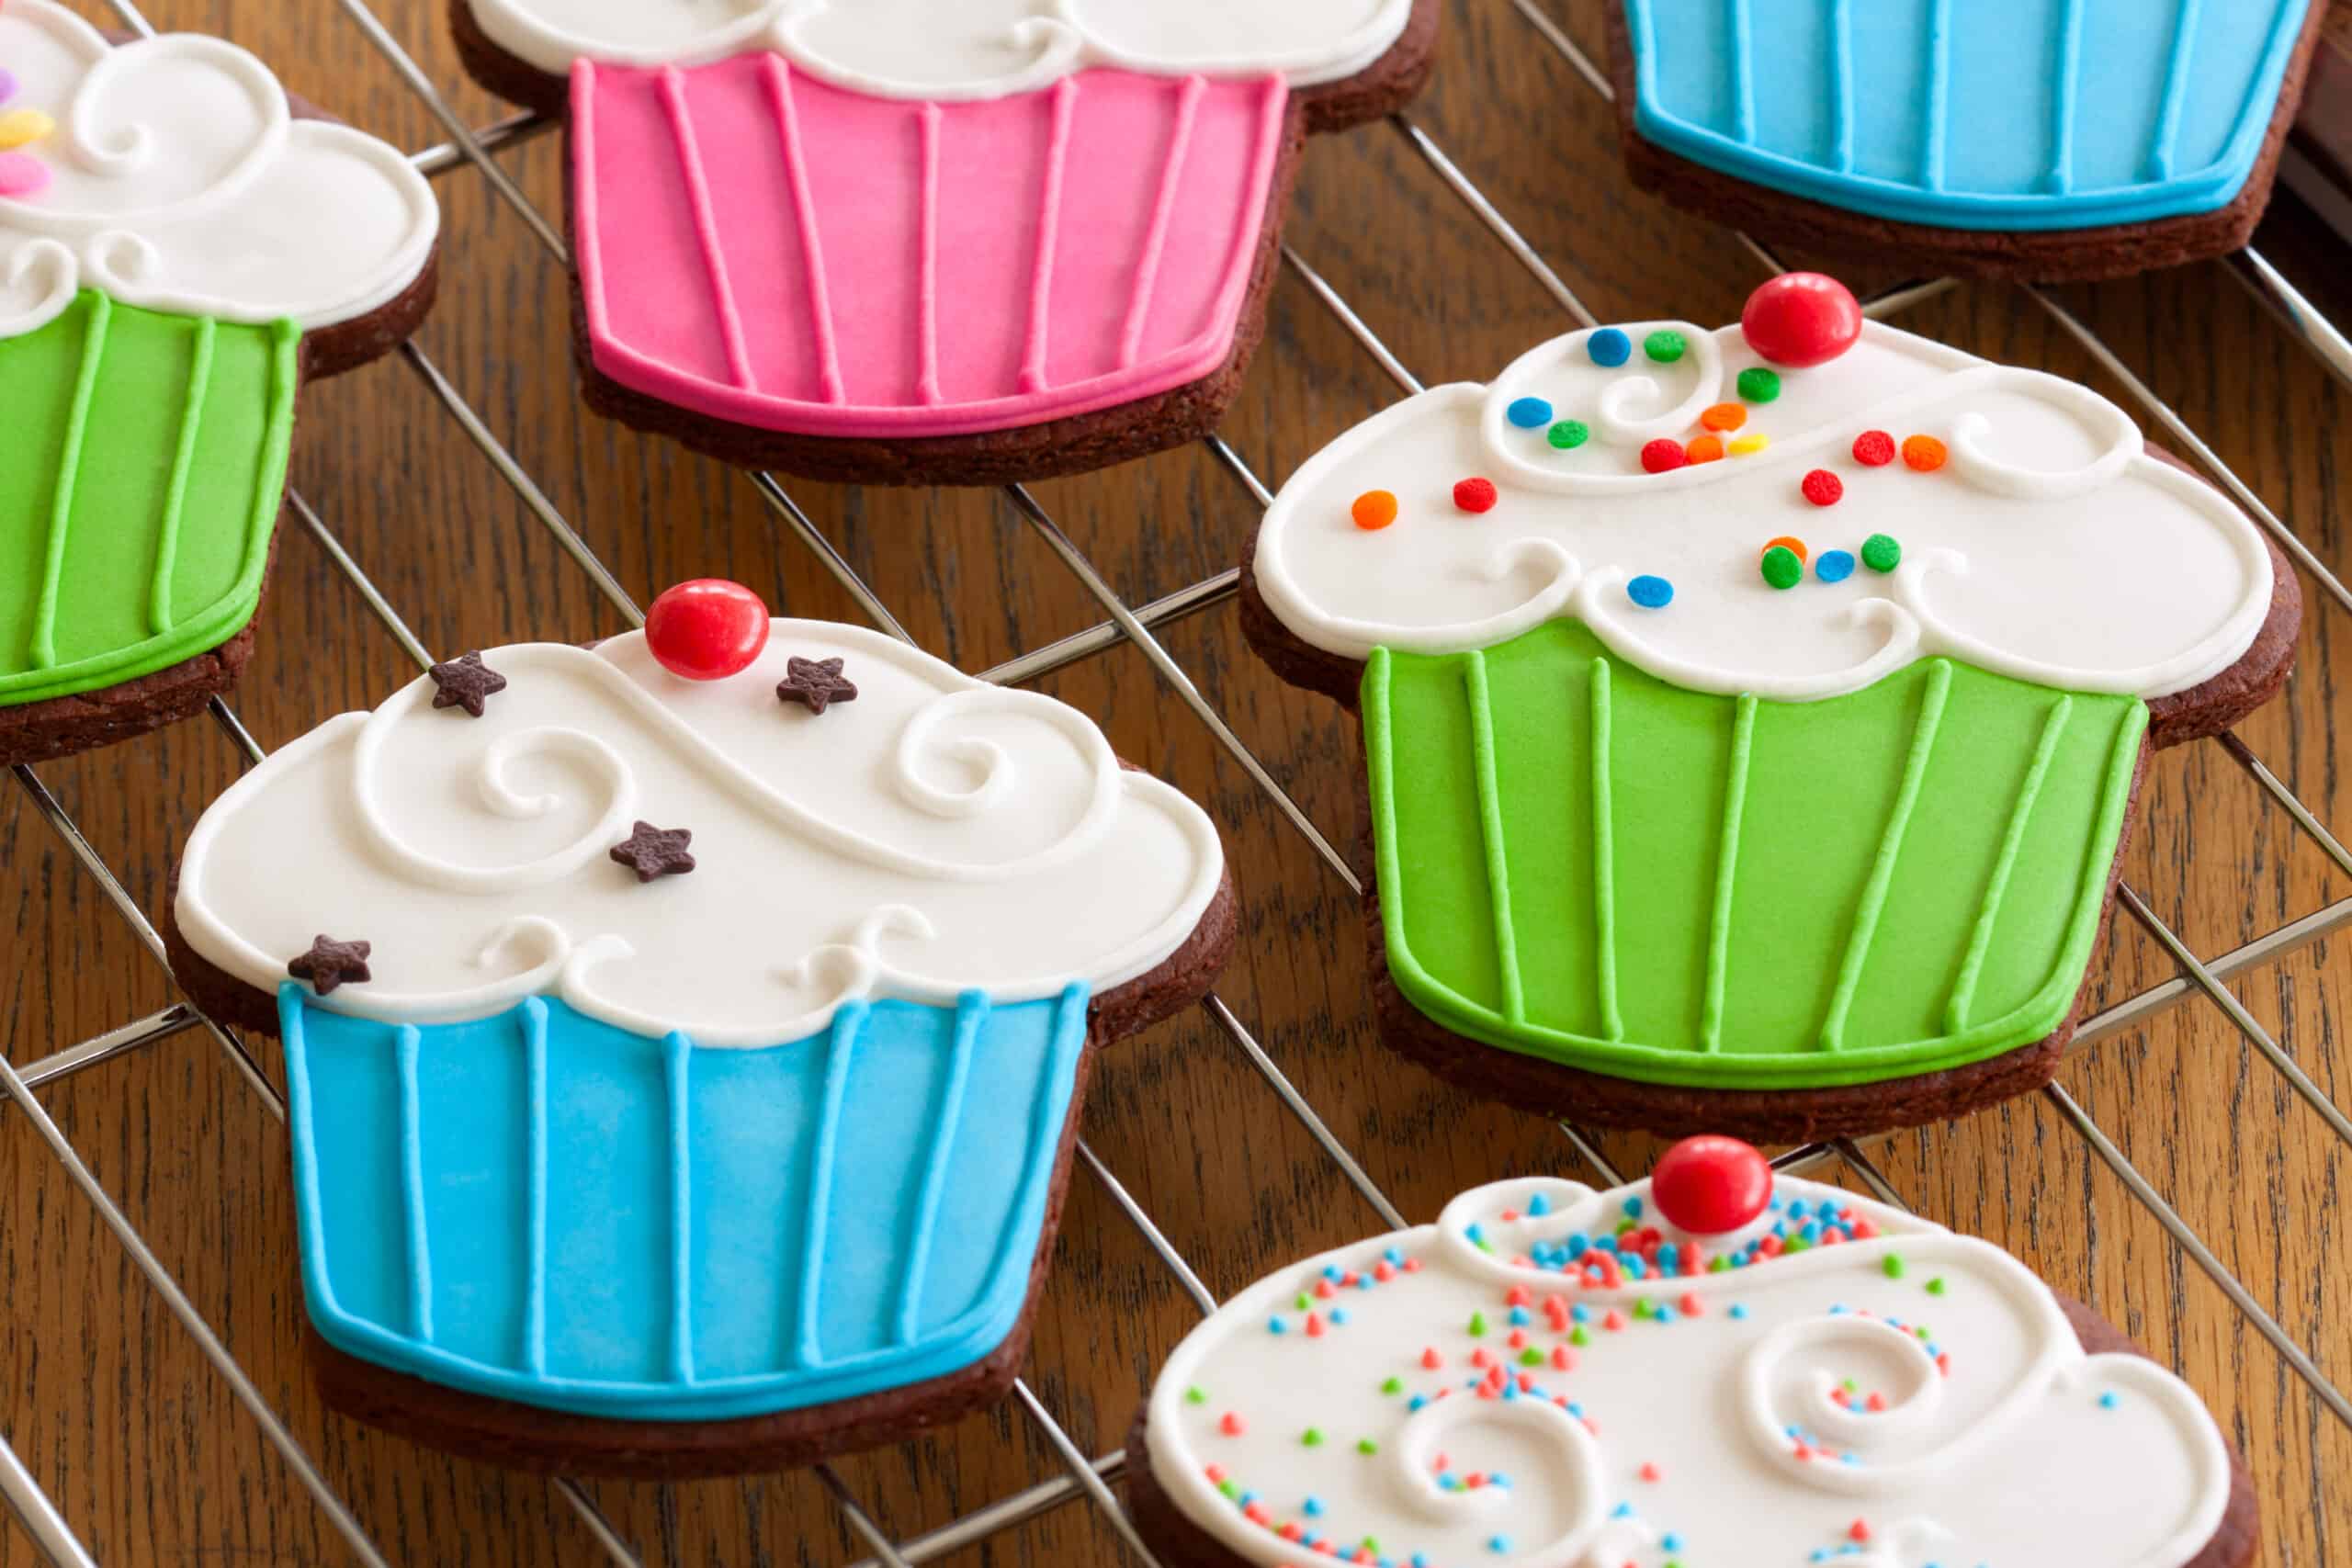
Sugar cookies are one of my favourite kinds of cookie. They are simple, delicious and are perfect for any occasion. They can deck the halls or celebrate a birthday. The key is a great sugar cookie icing recipe that helps you turn a simple cookie into a work of art.
My sugar cookies often look less like art and more like a pre-school art project and that is ok but sometimes you want to take that extra time and effort to make something special. A little practice goes a long way. Take your time and you’ll be making amazing cookies in no time.


Royal Icing vs Buttercream
This recipe is for Royal Icing versus buttercream. What is the difference, you ask? Well, buttercream is that soft yummy icing that you see on cakes. Royal icing is the harder frosting on sugar cookies. It can also be used as the glue that holds things like gingerbread houses together or glues decorations on.
Outlining vs Flooding
You’ll use the recipe below as is to draw the outlines on your cookies. Then you add water to the icing to thin it out until it is around the consistency of honey so it will fill in your outlines. This is called flooding. To test to make sure your icing is ready to use for flooding, take a spoonful of icing and put it back into the bowl. It should take the top 15-20 seconds to smooth itself out. If it takes longer, you need to add more water.
Sugar Cookie Icing


Ingredients
1/3 meringue powder
1/2 cup water
2 pounds powdered/confectioners/icing sugar, sifted
1 tablespoon corn syrup
1 teaspoon glycerin
2 teaspoon clear flavour extract such as butter vanilla, almond, or cookie nip
1 teaspoon white gel food coloring for white outlining icing. Other gel colors for colored outlines or floods
Instructions


Combine the meringue powder and water. With the paddle attachment of an electric mixer, beat
until combined and foamy. Sift in the powdered sugar and beat on low to combine.
Add in the corn syrup and extract if desired. Increase your mixer speed to med-high/high and beat for about
5 minutes or so, until the icing is glossy and stiff peaks form. Scrape down the sides and bottom
of the bowl a couple of times during the 5 minutes.


You should be able to remove the beater from the mixer, hold it up and jiggle it without the peak
falling. Do not overbeat.
Cover your icing with plastic wrap touching the icing or divide and color using gel paste food
colorings. This “stiff” icing is perfect for outlining, monogramming, and piping details. Make sure to completely stir in any food coloring you use. Make sure you use it right away or keep it covered tightly. Any exposure to air will cause it to harden.
To fill in your cookies, add water to your icing a teaspoon at a time, stirring with a rubber spatula, until it
is the consistency of syrup. This technique of filling a cookie with thinned icing is called
“flooding. Make sure to pop any air bubbles in your icing flood before drying your cookies.
Once you’ve decorated your cookies, let them dry on a baking rack for 24 hours for the royal icing to set to avoid any smears or icing transfer.

Sugar Cookie Icing Recipe
Royal Icing for outlining and flooding sugar cookies
Ingredients
- 1/3 cup meringue powder
- 1/2 cup water
- 2 pounds powdered/confectioners/icing sugar, sifted
- 1 tablespoon corn syrup
- 1 teaspoon glycerin
- 2 teaspoon clear flavour extract such as butter vanilla, almond, or cookie nip
- 1 teaspoon white gel food coloring for white outlining icing. Other gel colors for colored outlines or floods
Instructions
- Combine the meringue powder and water. With the paddle attachment of an electric mixer, beat until combined and foamy. Sift in the powdered sugar and beat on low to combine.
- Add in the corn syrup and extract if desired. Increase your mixer speed to med-high/high and beat for about 5 minutes or so, until the icing is glossy and stiff peaks form. Scrape down the sides and bottom of the bowl a couple of times during the 5 minutes.
- You should be able to remove the beater from the mixer, hold it up and jiggle it without the peaks falling. Do not overbeat.
- Cover your icing with plastic wrap touching the icing or divide and color using gel paste food colorings. This "stiff" icing is perfect for outlining, monogramming, and piping details. Make sure to completely stir in any food coloring you use. Make sure you use it right away or keep it covered tightly. Any exposure to air will cause it to harden.
- To fill in your cookies, add water to your icing a teaspoon at a time, stirring with a rubber spatula, until it is the consistency of syrup. This technique of filling a cookie with thinned icing is called "flooding. Make sure to pop any air bubbles in your icing flood before drying your cookies.
- Once you've decorated your cookies, let them dry on a baking rack for 24 hours for the royal icing to set to avoid any smears or icing transfer.
Nutrition Information:
Yield:
36Serving Size:
1Amount Per Serving: Calories: 116Total Fat: 1gSaturated Fat: 0gTrans Fat: 0gUnsaturated Fat: 0gCholesterol: 0mgSodium: 8mgCarbohydrates: 28gFiber: 0gSugar: 27gProtein: 0g
Nutrition info included as a guide. No guarantees are made that the information is accurate.