This Step-By-Step Cricut Tutorial post contains affiliate links. These links support MerryAboutTown at no cost to you. Thank you for supporting this site!
The holidays were CRAZY so my poor Cricut has been ignored. Today I dusted it off and decided to upgrade one of my water bottles. You see, I’ve started the 21 Day Fix and I am supposed to be drinking more water. I am the worst about remembering to drink. Also, I was given a Swell bottle at an event late last year. I was so excited to get a Swell bottle but I didn’t love the wood grain finish. Nothing a little vinyl can’t fix!

First off, I measured my water bottle to determine how big my design would need to be. The lines on your design screen (we’ll get to that in a second) correspond to the lines on your cutting mat for easy measuring.

First up…I headed to the Cricut Design Space. I had a look through all the pre-loaded projects but didn’t find anything that was quite what I wanted. So I clicked on “Create New Project” and got started. Since I only wanted text, I clicked on “Add Text” on the left hand side.

Since this project was for my water bottle, I wanted the word Hydrate to stand out. I decided to go with a cursive font and use sparkly vinly. It’s easy to do this. Just add text twice (or how many different fonts/sizes/colors you want). Then you can pick different fonts for each section of text. I wasn’t sure which fonts I wanted to go with so I just clicked Edit on the right hand side and tried different fonts until I found one I liked. For me, the design process takes WAY longer than actually making the project.

Next, plug in your Cricut and attach your USB cord. Stick the vinyl you are using to the cutting mat ensuring that you cover all the area right up to the corner and the top and side lines.
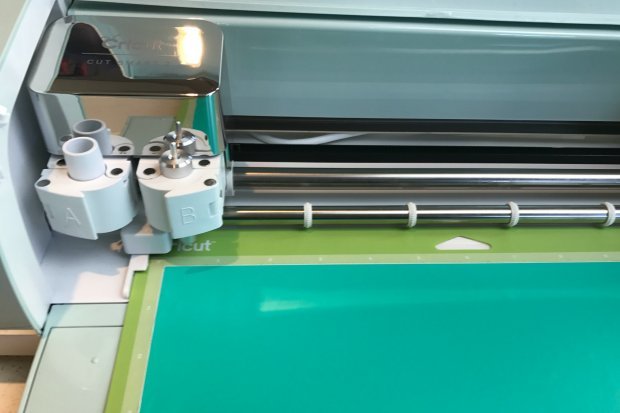
The corner with a 0 beside it is the top. Push it into the front of your Cricut machine, under the guards and against the rollers. Push the load button.

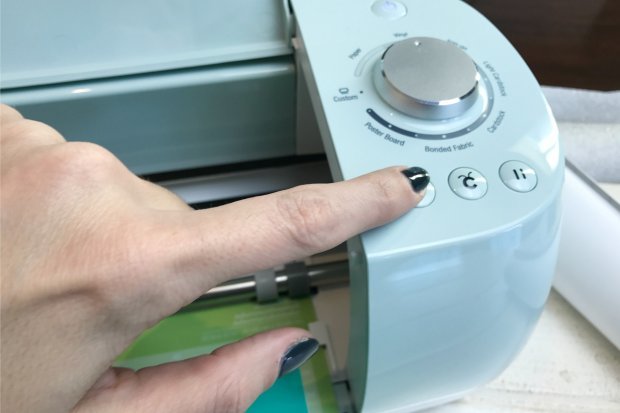
Next you will pop over to your Cricut Design Space and press GO. You will then see a screen that will show you your (in this case) two cutting runs. Make sure you have the cutting series that coincides with the vinyl color you have loaded.

Press Cut on the Machine.
Sit back and watch the Cricut magic.
Remember when I said you needed to make sure your vinyl was covering the top and side lines? Well mine wasn’t and here’s what happened. Notice that the top of the d is missing the top part of its loop? I flipped the vinyl over and tried again on the other side.

Once you have your pieces cut on the Cricut, cut a square around your cut out design. Peel off the outside vinyl around the design.

Use your weeder (the thing with the bent pointy end) to weed out the extra bits of vinyl within the letters.

Use the lines on the transfer paper to line up your design. Rub down firmly on your design to get it to adhere to the surface. Pull off the transfer paper carefully. If your design starts to raise. Use your fingernail or weeder to hold it down or replace the transfer paper on that letter and rub down firmly again.
Repeat these steps until all elements of your design are on your project. Enjoy!

Want to make this bottle for yourself? Find the pattern here – Hydration Water Bottle Template
You will also need:
Water bottle. I used a Swell bottle but any will work.
Look for more great project ideas in the Cricut Design Space!
This is a sponsored conversation written by me on behalf of Cricut. The opinions and text are all mine.
Marine
Tuesday 18th of August 2020
My transfer tape is bad quality and the bottles get so sticky after I finish, how can I get off that stickiness?
Merry Kuchle
Friday 28th of August 2020
I'm not sure! I would reccomend getting better transfer tape.
Ashlee
Sunday 8th of July 2018
Do you use permanent vinyl or regular?
Merry Kuchle
Sunday 8th of July 2018
I think it was regular. It has held up pretty well but definitely use a permanent vinyl for a longer lasting result.
tina
Monday 8th of January 2018
I do not have a circuit. I had to sell mine :( Do you know how I could do a simple name and a volleyball on one for my son?
Merry Kuchle
Monday 8th of January 2018
What would you be using to cut the vinyl?
Mari
Sunday 10th of September 2017
Hello, does the vinyl remain intact after washing?
Merry Kuchle
Sunday 10th of September 2017
Yes it does!
Ellen
Friday 17th of March 2017
so you don't mirror image the text on water bottles?
Merry Kuchle
Friday 17th of March 2017
Nope. You only mirror for iron ons.